Visual Studio Code, commonly known as VSCode, is a free and open-source text editor developed by Microsoft. Since its release, it has rapidly become one of the most versatile and powerful text editors for modern developers.
It provides a graphical interface that enables new users to interact and use it easily. However, it also combines complex features such as snippets, code refactoring, emmet abbreviations, etc.
However, one of the most renowned features of VSCode is the extensions feature. VSCode extensions refer to a set of external tools that you can install in the editor to enhance the performance and capabilities of the editor. For example, you can install the extension for C/C++ to turn the VSCode editor into a complete IDE for that language.
As you can guess, with the rise of Docker and containerization, Visual Studio Code allows us to install the Docker Extension, which brings the power of Docker to a graphical UI.
Using the Docker extensions, you can perform operations such as pulling images, running containers, interacting with the containers, managing services, and more from a graphical interface in the editor.
Requirements
You will be required to install the latest version of the Visual Studio Code editor. You must also have the Docker service installed and running on your machine.
Luckily, the extension is not platform-dependent. Hence, you can follow this post in any supported operating system.
Step 1 – Installing the Docker Extension
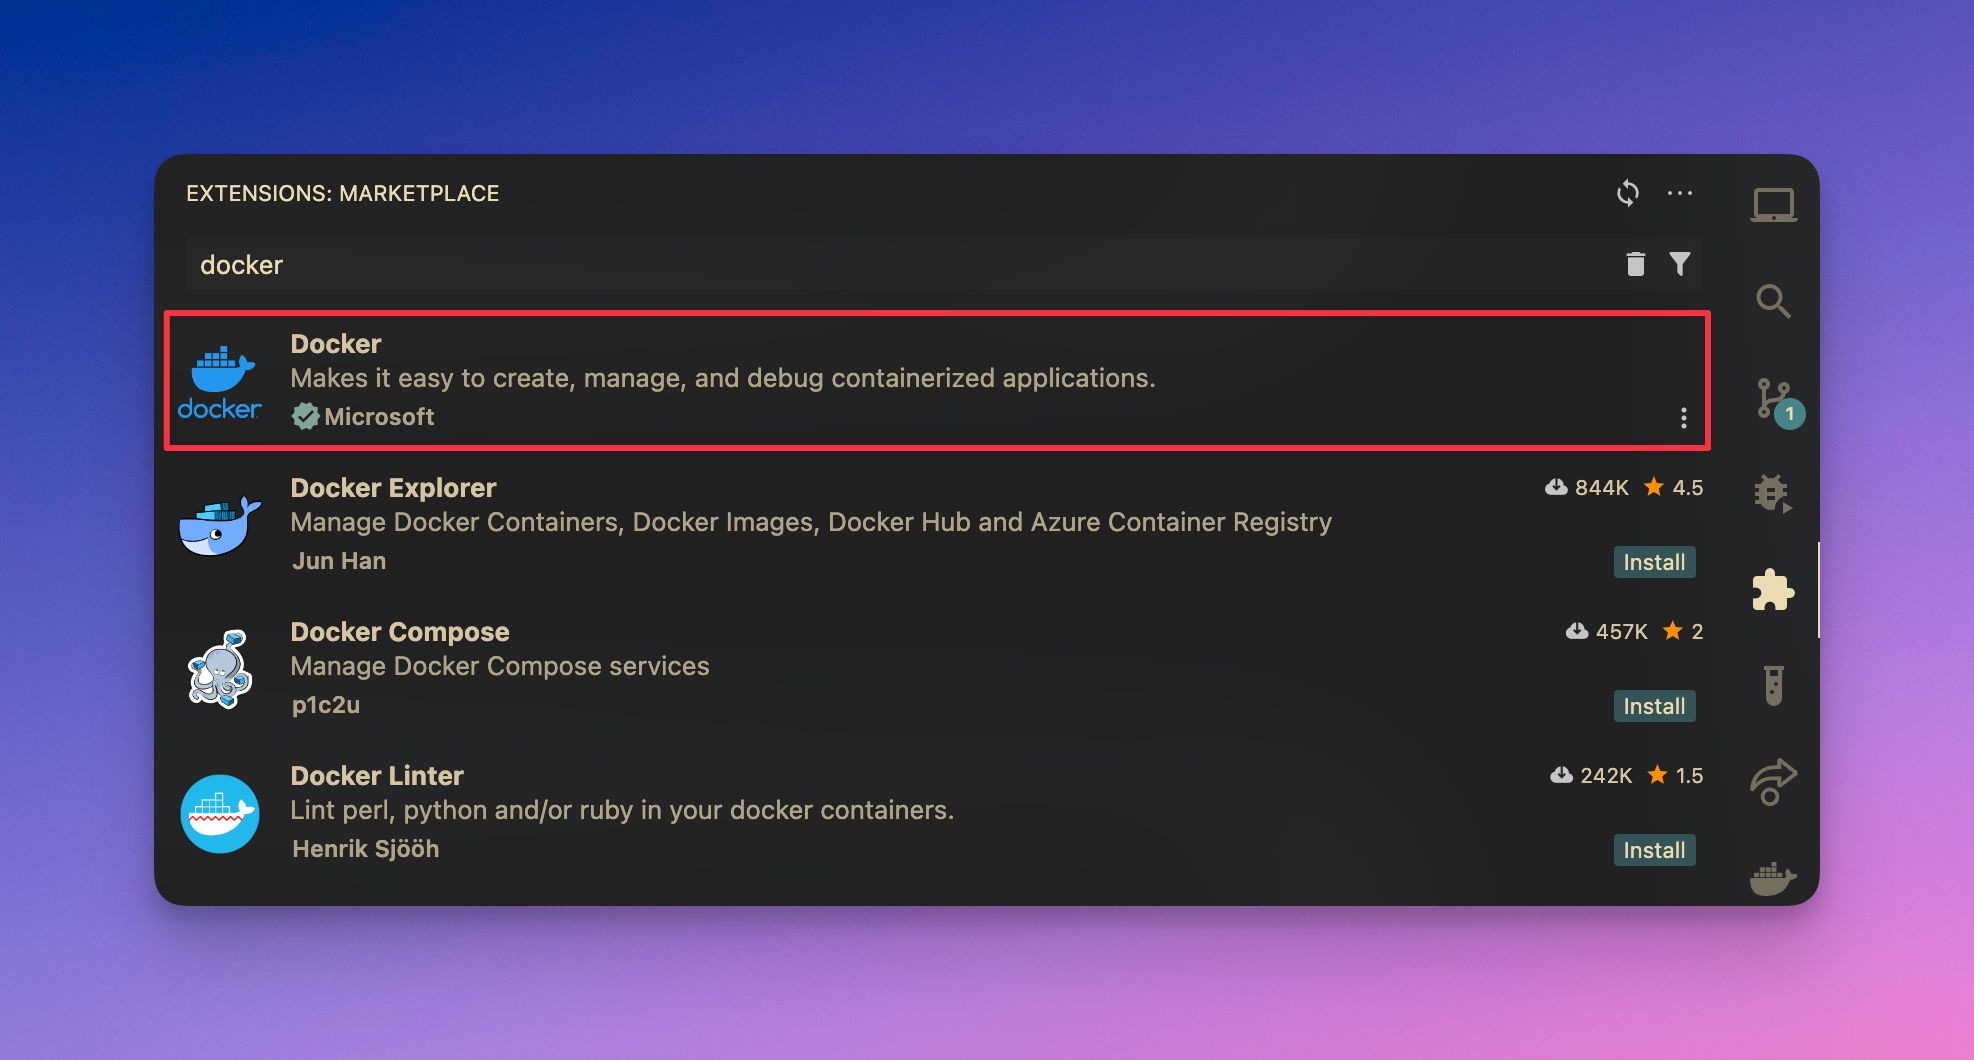
The first step is installing the Docker extension in your Visual Studio Code editor. Head over to the extensions section in your editor and search for “docker” in the search box.

Locate the extension called Docker with the publisher as Microsoft. Click on the install button to download and install the extension in your editor.
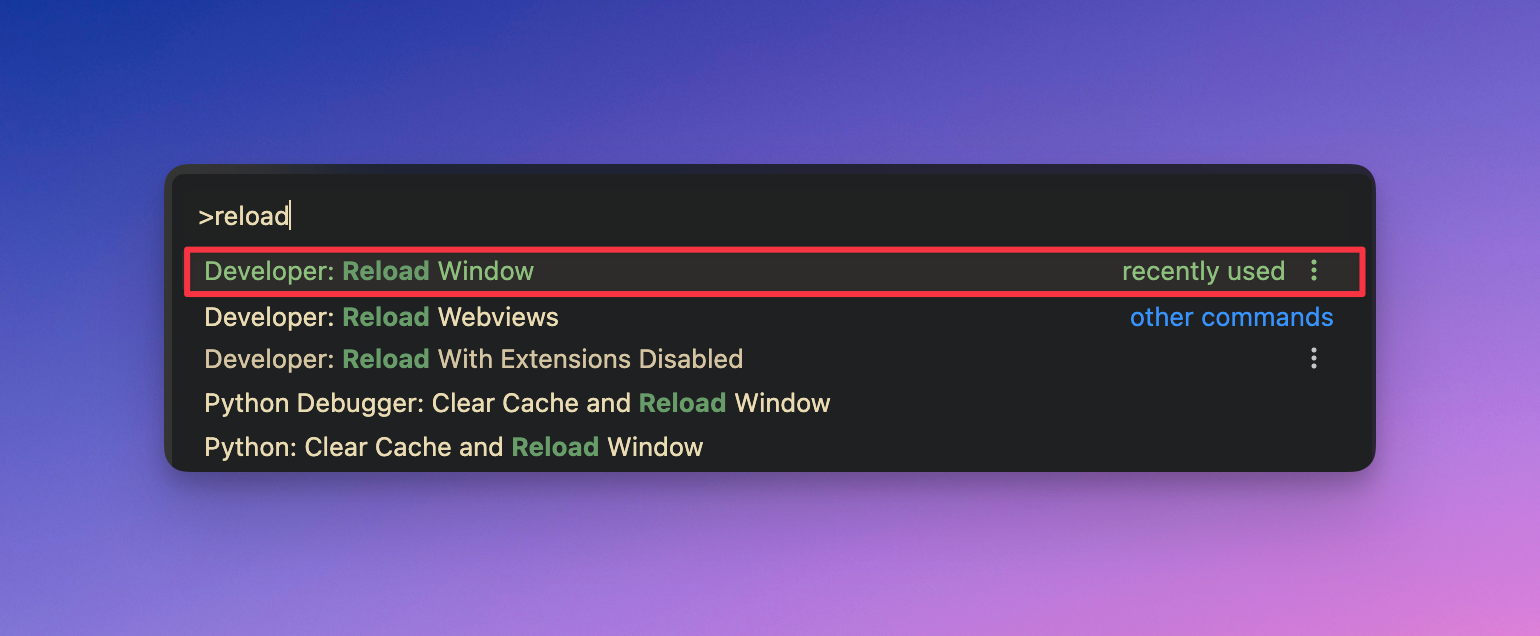
Once installed, you may need to reload the editor by pressing the keys CTRL + SHIFT + P and search for reload editor.

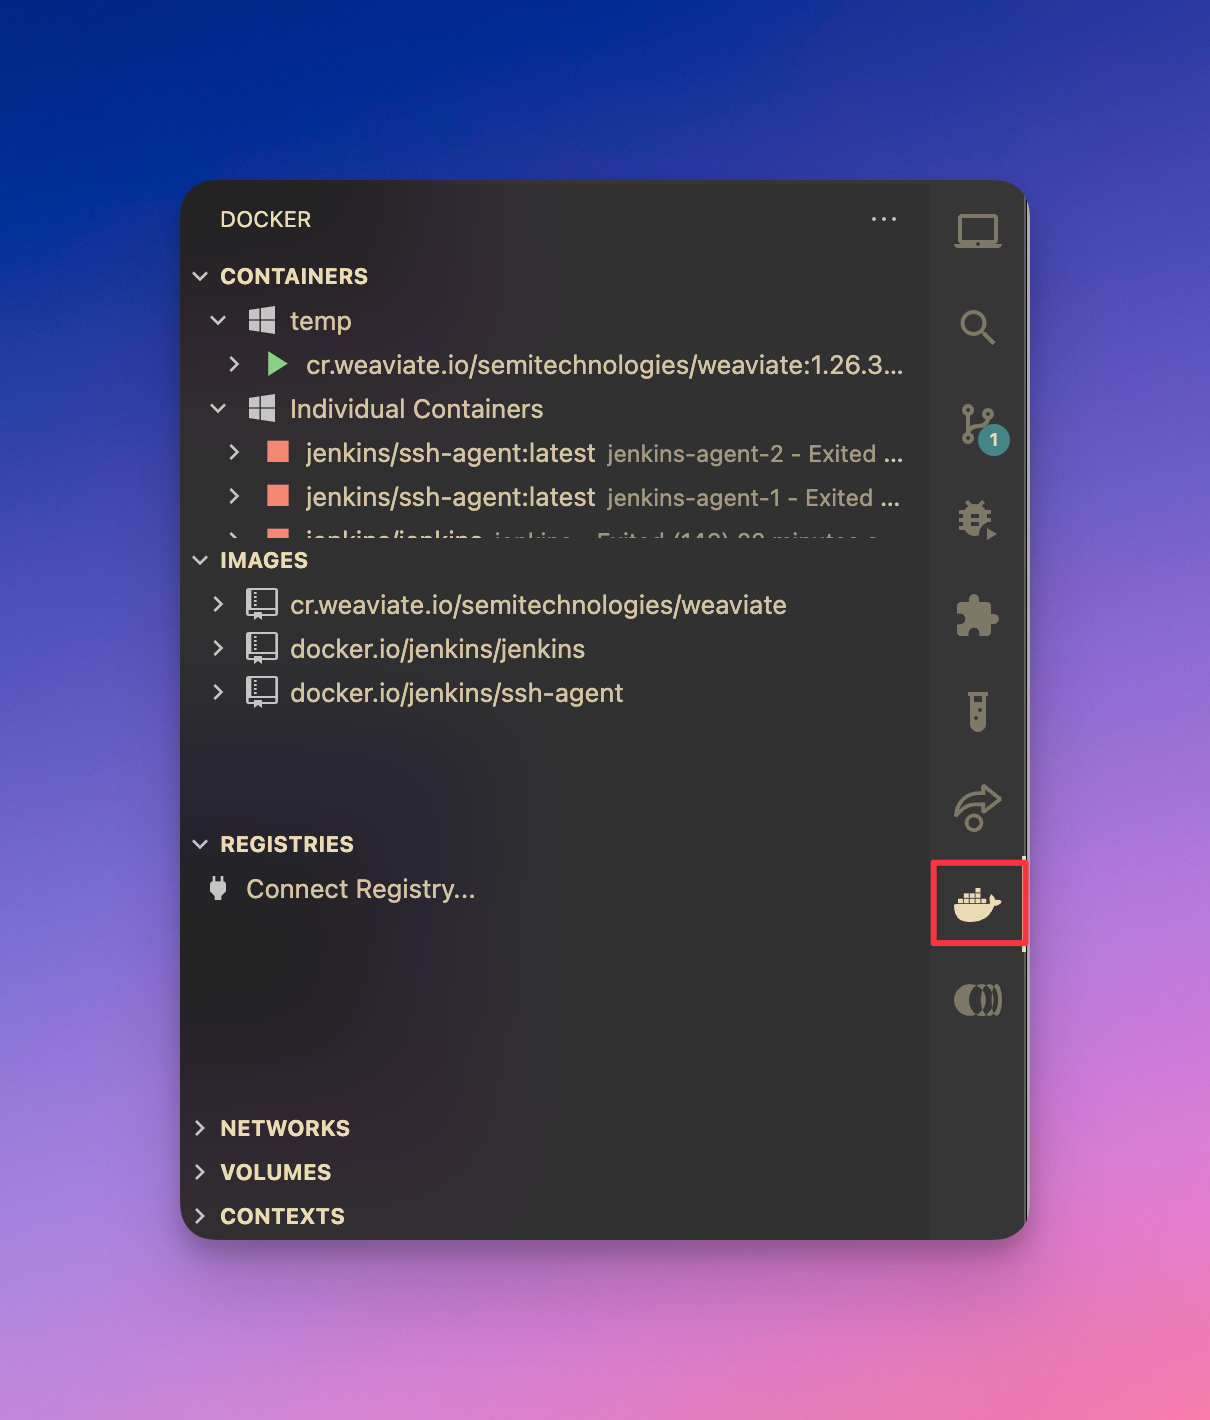
Upon reloading, you will find the Docker icon on the left hand pane of the editor. Click on this icon to interact and perform any docker related operations straight from the editor.

Here, you will find all the docker tools and resources you need such as the created containers, the pulled images, container volumes, network configurations and more.
Pulling Images
The first step is to pull a docker image for demonstration purposes. When writing this tutorial, you must pull an image from the terminal before using it in the Docker extension of the Visual Studio Code extension.
Open the terminal by pressing the key CTRL + `
Then, run the Docker pull command as shown:
$ docker pull hello-worldThe command above will download the hell0-world image onto your device, allowing you to create containers from it.
Visual Studio Code – Create Docker Container
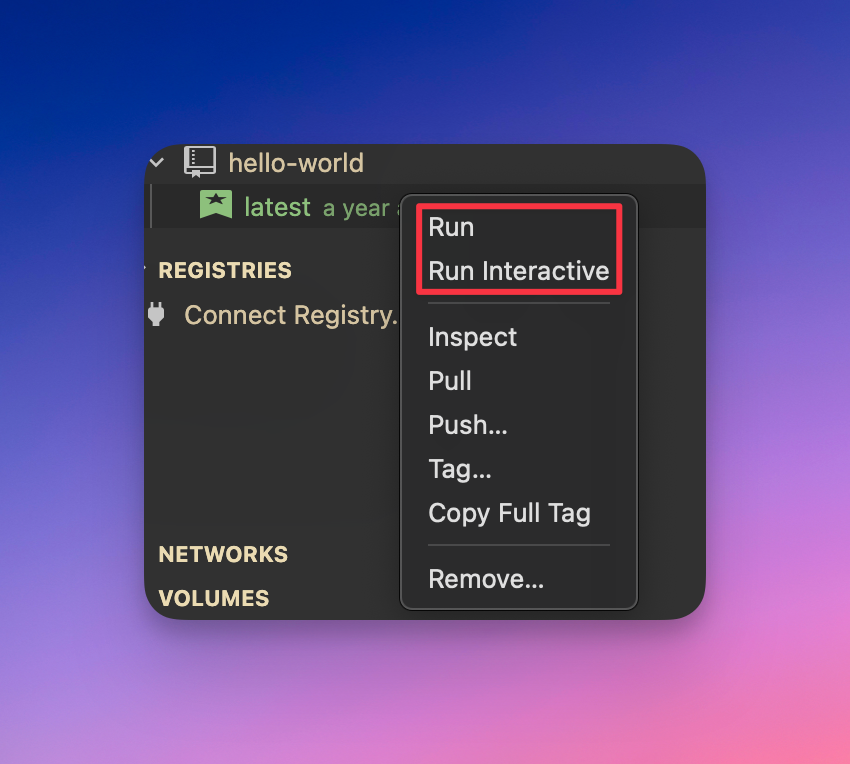
To create a docker container from the pulled image, head over to the `Docker extension pane -> Images -> Select target image -> choose the target tag and right-click.
Here, click run to start a container using the selected image.

This should run a new container using the specified image. You can view the running container in the containers section of the extension.
Conclusion
In this tutorial, you learned how to install and configure the docker extension on your Visual Studio Code editor to interact and work with the docker engine from the editor.

